使用vuepress-theme-reco主题搭建个人博客
经历对多个博客主题的尝试之后,我终于选定了使用vuepress-theme-reco主题(版本2.0.0-rc.16)来搭建我的个人博客,本文主要介绍如何使用vuepress-theme-reco搭建博客。
1. 安装nodejs环境
自行百度nodejs安装,这里不做叙述。
2. 安装主题所需依赖
打开CMD窗口(快捷键:WIN+R):
输入
npm install @vuepress-reco/theme-cli@1.0.7 -g安装脚手架;输入
theme-cli init初始化主题:设置目录、博客名称、描述、作者姓名;进入创建的文件夹目录
cd myblog,输入npm install vuepress-theme-reco@2.0.0-rc.16安装指定主题依赖到目录下。
以下为安装完成后的目录结构:

3. 启动环境
输入 npm run dev开启环境,浏览器地址栏输入:http://localhost:端口号 访问初始化的博客
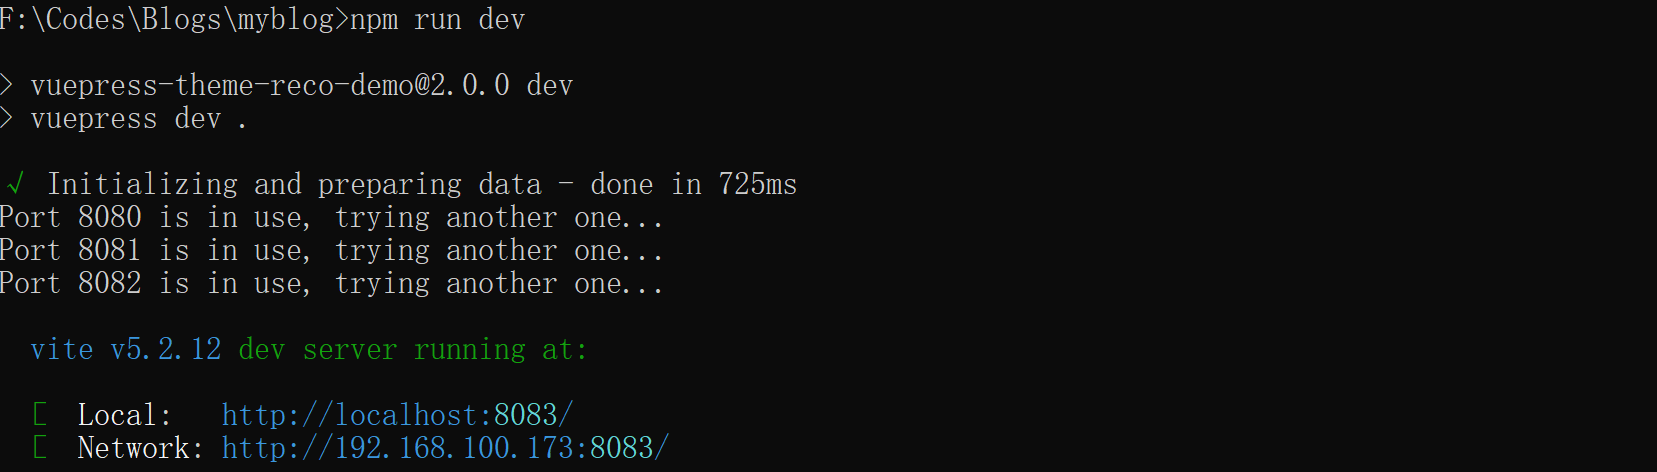
可以看到: 端口被占用后会自动切换其他端口,直到成功启动,这时的访问路径为:http://localhost:8083
如果想为博客指定一个端口号,可以在 config.ts中的 export default defineUserConfig({ 添加一句代码:port:9999 ,这样启动时就会以9999 端口启动了,访问路径为:http://localhost:9999
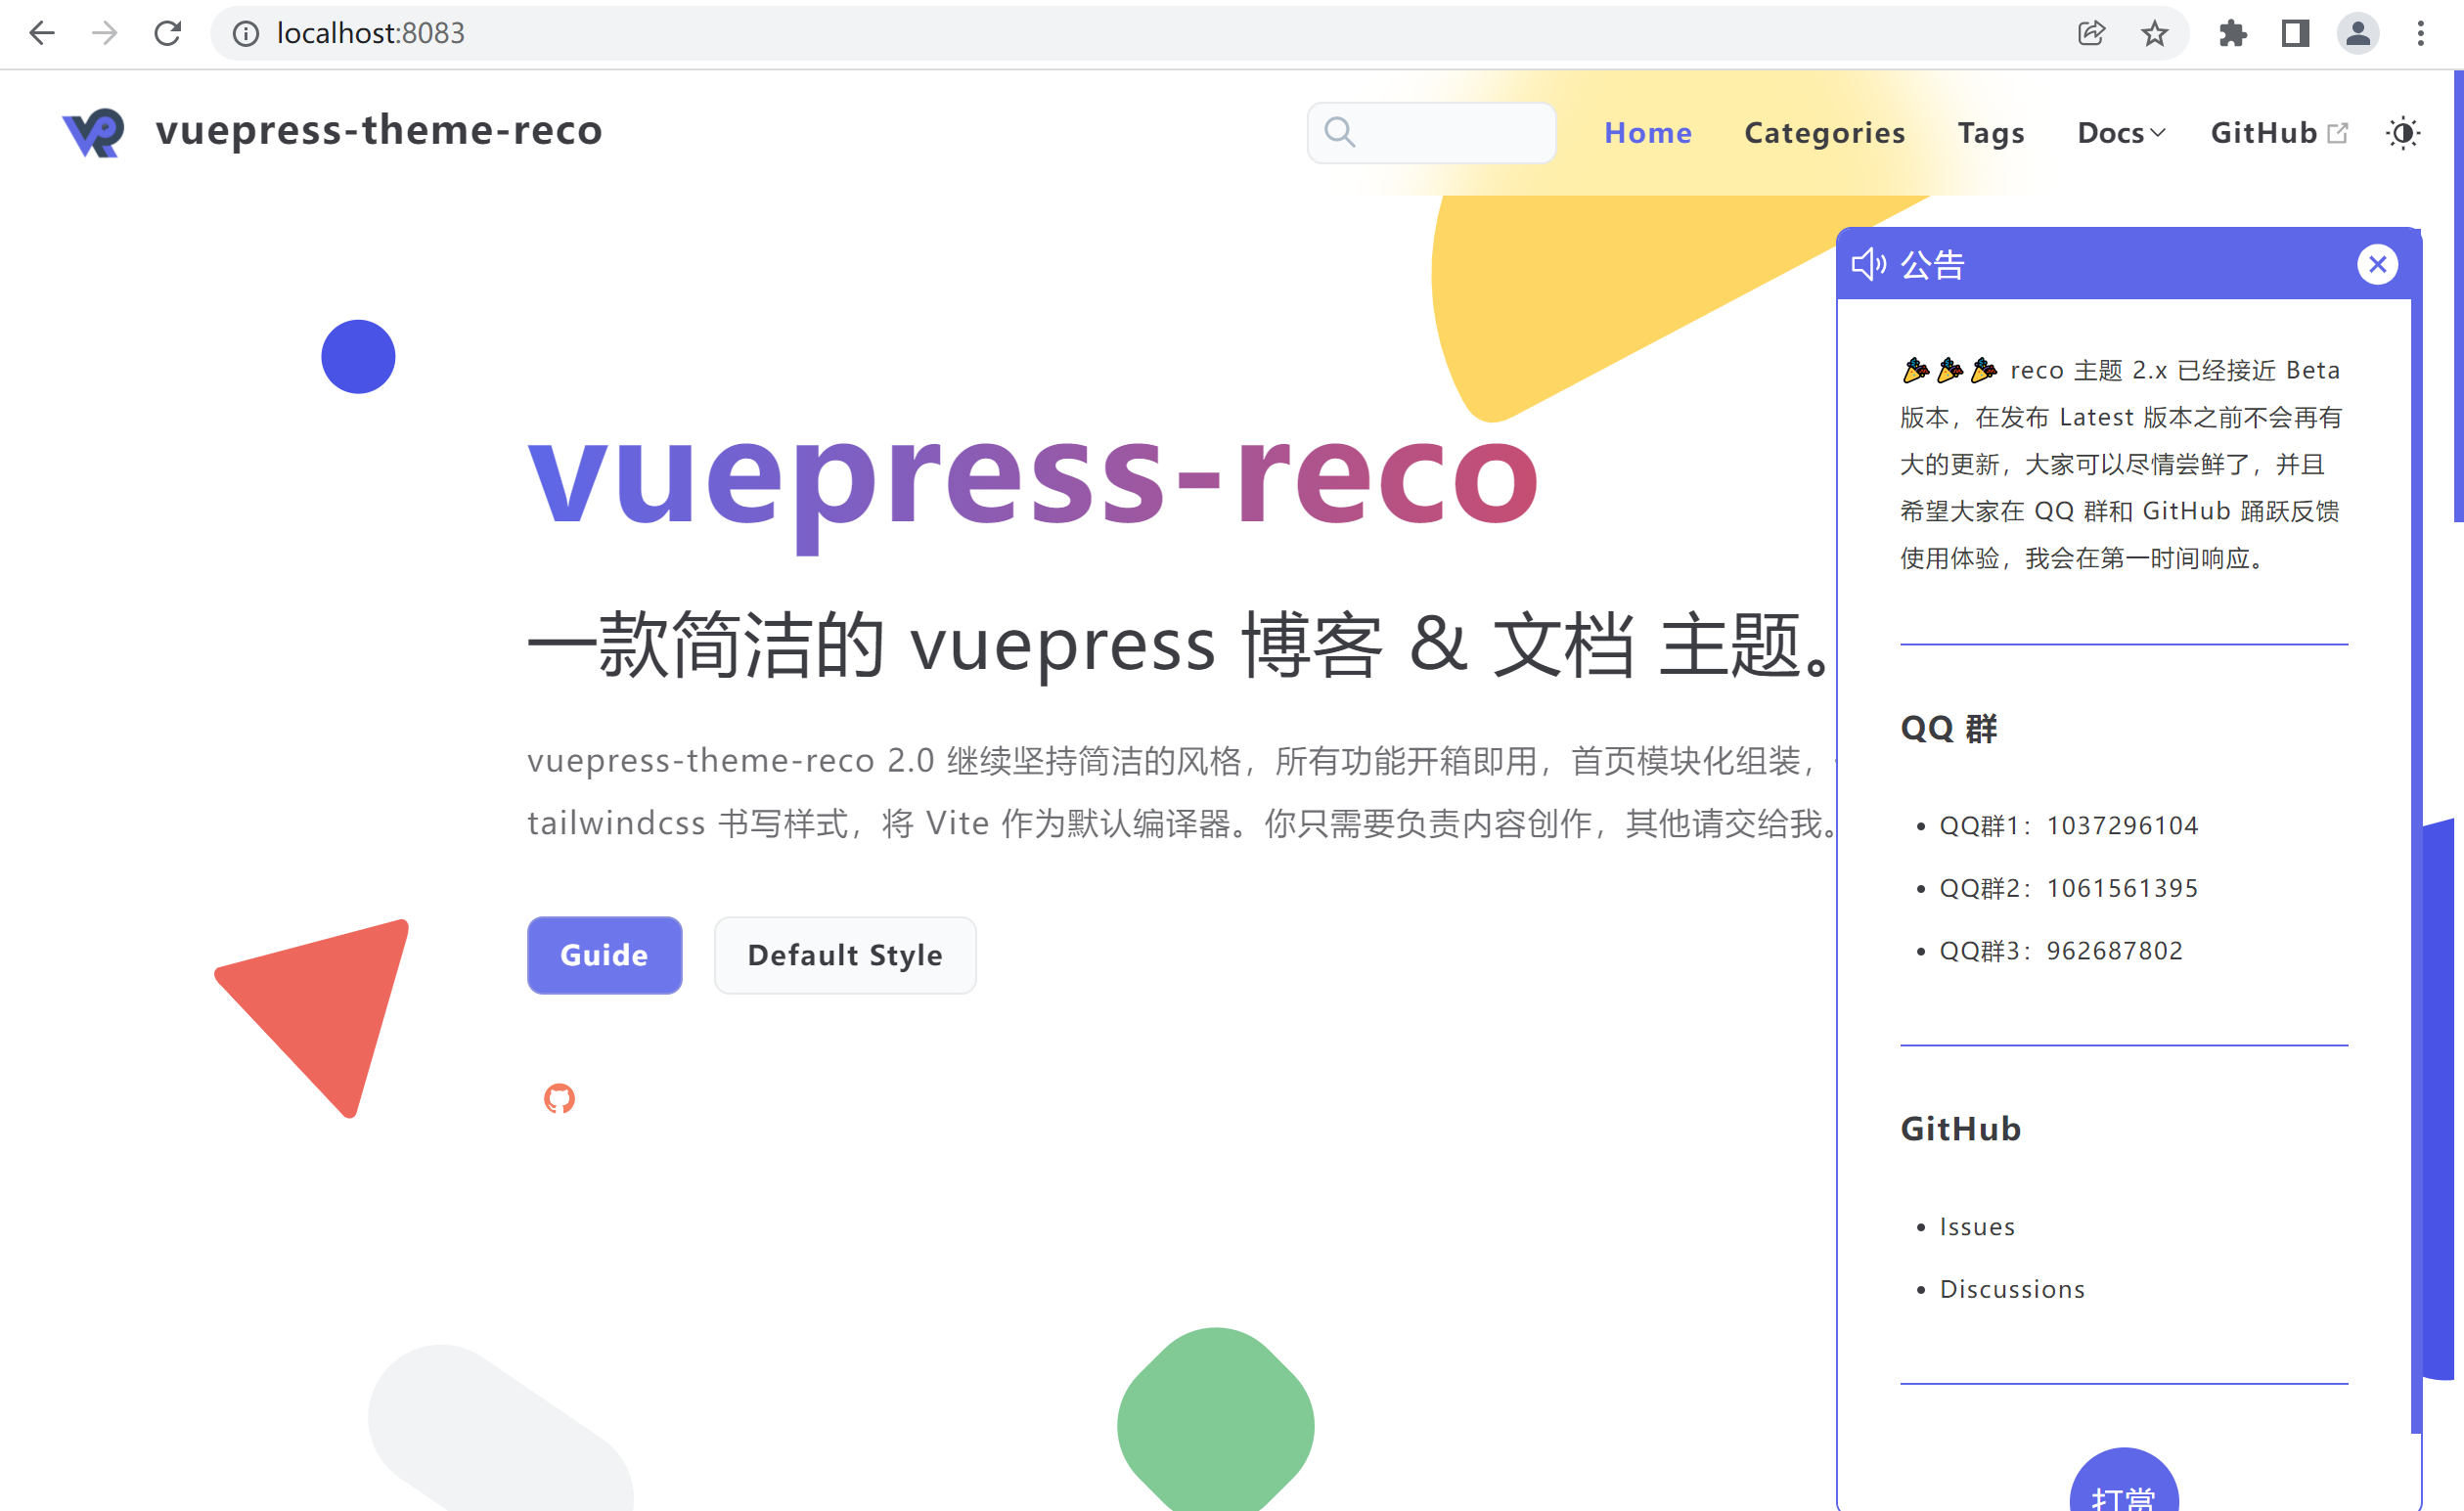
首次访问页面:
4. 将已有内容修改为个人专属
4.1 博客名称和菜单名称
虽然我们在搭建博客时已经输入了博客名称,但是好像最终生成的博客并不生效,所以我们在这里手动修改。
打开文件:.vuepress->config.ts
修改theme: recoTheme中的属性值如:“title”,“description”等,根据自己的实际需要修改navbar(即首页第一行的菜单名称)
如果有自己喜欢的图片也可以修改logo和首页背景图片。背景图片在 README.md 中修改。
4.2 设置菜单栏图标
2.x版本 默认没有给菜单添加图标,下面介绍下怎么自定义菜单图标.
在 config.ts 文件中,对 navbar 参数进行配置,给某个菜单项添加 icon 属性参数进行图标的配置。vuepress-theme-reco@2.x 是通过 Xicons 来配置图标的,Xicons 只集成了 carbon 1 种图标,几乎可以满足绝大部分场景。
navbar: [
      { text: "首页", link: "/", icon: "Home" },
4.3 删除blogs文件夹所有文件
去掉blogs文件夹中所有主题初始化的东西,后面的博客会写在这个文件夹中。
4.4 修改浏览器title图标
在config.ts 文件中,添加head 代码,找自己喜欢的图片,然后放到 public 文件夹下:
head: [
    ['link', { rel: 'icon', href: '/favicon.ico' }],
    ['meta', { name: 'keywords', content: '个人博客网页' }],
    ['meta', { name: 'description', content: '个人博客网页' }],
    ['meta', { name: 'author', content: 'Mr.Lin' }],
  ],
4.5 修改主题中的样式
如果要修改主题中某内置页面的样式,那么就要在 .vuepress 目录下创建两个目录:components (存放新建的组件或当与主题的组件同名时覆盖主题对应的组件)/layouts (存放新建的布局或与主题的布局同名时覆盖主题对应的布局) 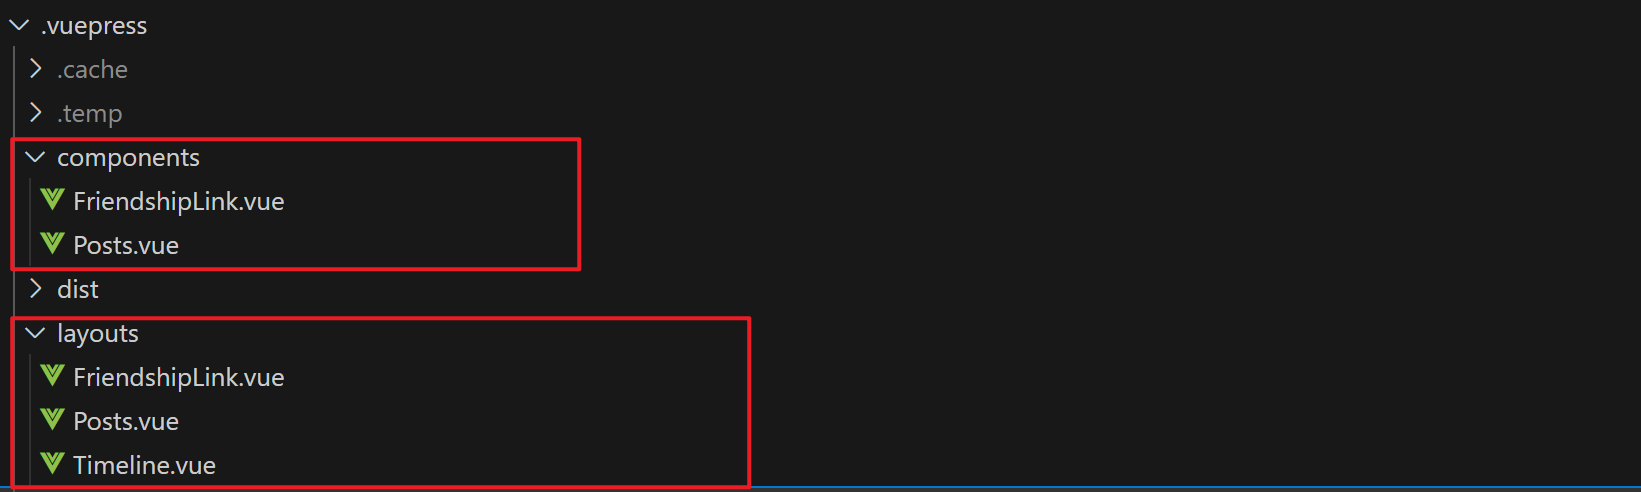
4.6 修改时间轴页面显示
将主题中的Timeline.vue 复制到.vuepress/layouts 目录下,并修改内容如下:
<template>
  <GenericContainer class="timeline-wrapper">
    <ul class="timeline-content">
      <li
        v-for="(item, index) in timelineData"
        :key="index"
      >
        <h2 class="year">{{item.year}}</h2>
        <ul class="year-wrapper">
          <li v-for="(subItem, subIndex) in item.data" :key="subIndex" class="item">
            <span class="date">{{subItem.date}}</span>

            <RouterLink class="title" :to="subItem.path">{{ subItem.title }}</RouterLink>
          </li>
        </ul>
      </li>
    </ul>
  </GenericContainer>
</template>
<style>
.timeline-wrapper .timeline-content {
    position: relative;
    margin-left: auto;
    margin-right: auto;
    margin-top: 1rem;
    margin-bottom: 4rem;
    max-width: 1024px;
    padding-left: 12rem;
    padding-right: 12rem;
}
/* Hide tooltips on mobile devices */
@media (max-width: 768px) {
  .timeline-wrapper .timeline-content {
    position: relative;
    margin-left: auto;
    margin-right: auto;
    margin-top: 1rem;
    margin-bottom: 4rem;
    max-width: 1024px;
    padding-left: 1rem;
    padding-right: 1rem;
  }
}
@media (max-width: 480px) {
  .timeline-wrapper .timeline-content {
    position: relative;
    margin-left: auto;
    margin-right: auto;
    margin-top: 1rem;
    margin-bottom: 4rem;
    max-width: 1024px;
    padding-left: 1rem;
    padding-right: 1rem;
  }
}

.timeline-wrapper .timeline-content::before {
  content: '';
  position: fixed;
  left: 16rem; /* 调整位置以适应时间线的位置 */
  top: 0;
  bottom: 0;
  width: 10px;
  height: 100%;
  background: #b62c27; /* 箭头的颜色 */
}
/* Hide tooltips on mobile devices */
@media (max-width: 768px) {
  .timeline-wrapper .timeline-content::before {
    content: '';
    position: absolute;
    left: 10rem; /* 调整位置以适应时间线的位置 */
    top: 0;
    bottom: 0;
    width: 0px;
    height: 100%;
    background: #b62c27; /* 箭头的颜色 */
  }
}
@media (max-width: 480px) {
  .timeline-wrapper .timeline-content::before {
    content: '';
    position: absolute;
    left: 10rem; /* 调整位置以适应时间线的位置 */
    top: 0;
    bottom: 0;
    width: 0px;
    height: 100%;
    background: #b62c27; /* 箭头的颜色 */
  }
}

</style>
<script setup lang="ts">
import GenericContainer from '@components/GenericContainer/index.vue'
import { useExtendPageData } from '@vuepress-reco/vuepress-plugin-page/composables'

import { formatISODate } from '@utils/other.js'

const { posts } = useExtendPageData()

const dataMap: {
  [key: string]: Array<any>
} = {}

posts.forEach(post => {
  if (!post.frontmatter.date) return

  let connector = post.frontmatter.date.includes('/') ? '/' : '-'

  const [year, mounth, day] = formatISODate(post.frontmatter.date).split(' ')[0].split(connector) || []

  if (!year || !mounth || !day) return

  if (!dataMap[year]) {
    dataMap[year] = [{
      ...post,
      date: `${mounth}${connector}${day}`
    }]

    return
  }

  dataMap[year].push({
    ...post,
    date: `${mounth}${connector}${day}`
  })
});

interface TimelineData {
  year: string,
  data: any
}

//修改 2024年6月14日10:52:59
// 对每个年份的数据进行倒序排序
Object.keys(dataMap).forEach(year => {
  dataMap[year].sort((a, b) => {
    const dateA = new Date(`${year}-${a.date}`);
    const dateB = new Date(`${year}-${b.date}`);
    return dateB.getTime() - dateA.getTime();
  });
});

// 生成 timelineData 数组,并按年份倒序排序
const timelineData: Array<TimelineData> = Object.keys(dataMap).sort((a, b) => b.localeCompare(a)).reduce(
  (all: Array<TimelineData>, next: string) => {
    all.push({
      year: next,
      data: dataMap[next]
    })
    return all
  },
  []
)
</script>
@client/components/GenericContainer/index.vue
在这个vue 文件中,使列表按照年份倒序显示,并且在列表左边添加了一根轴:以下为页面效果 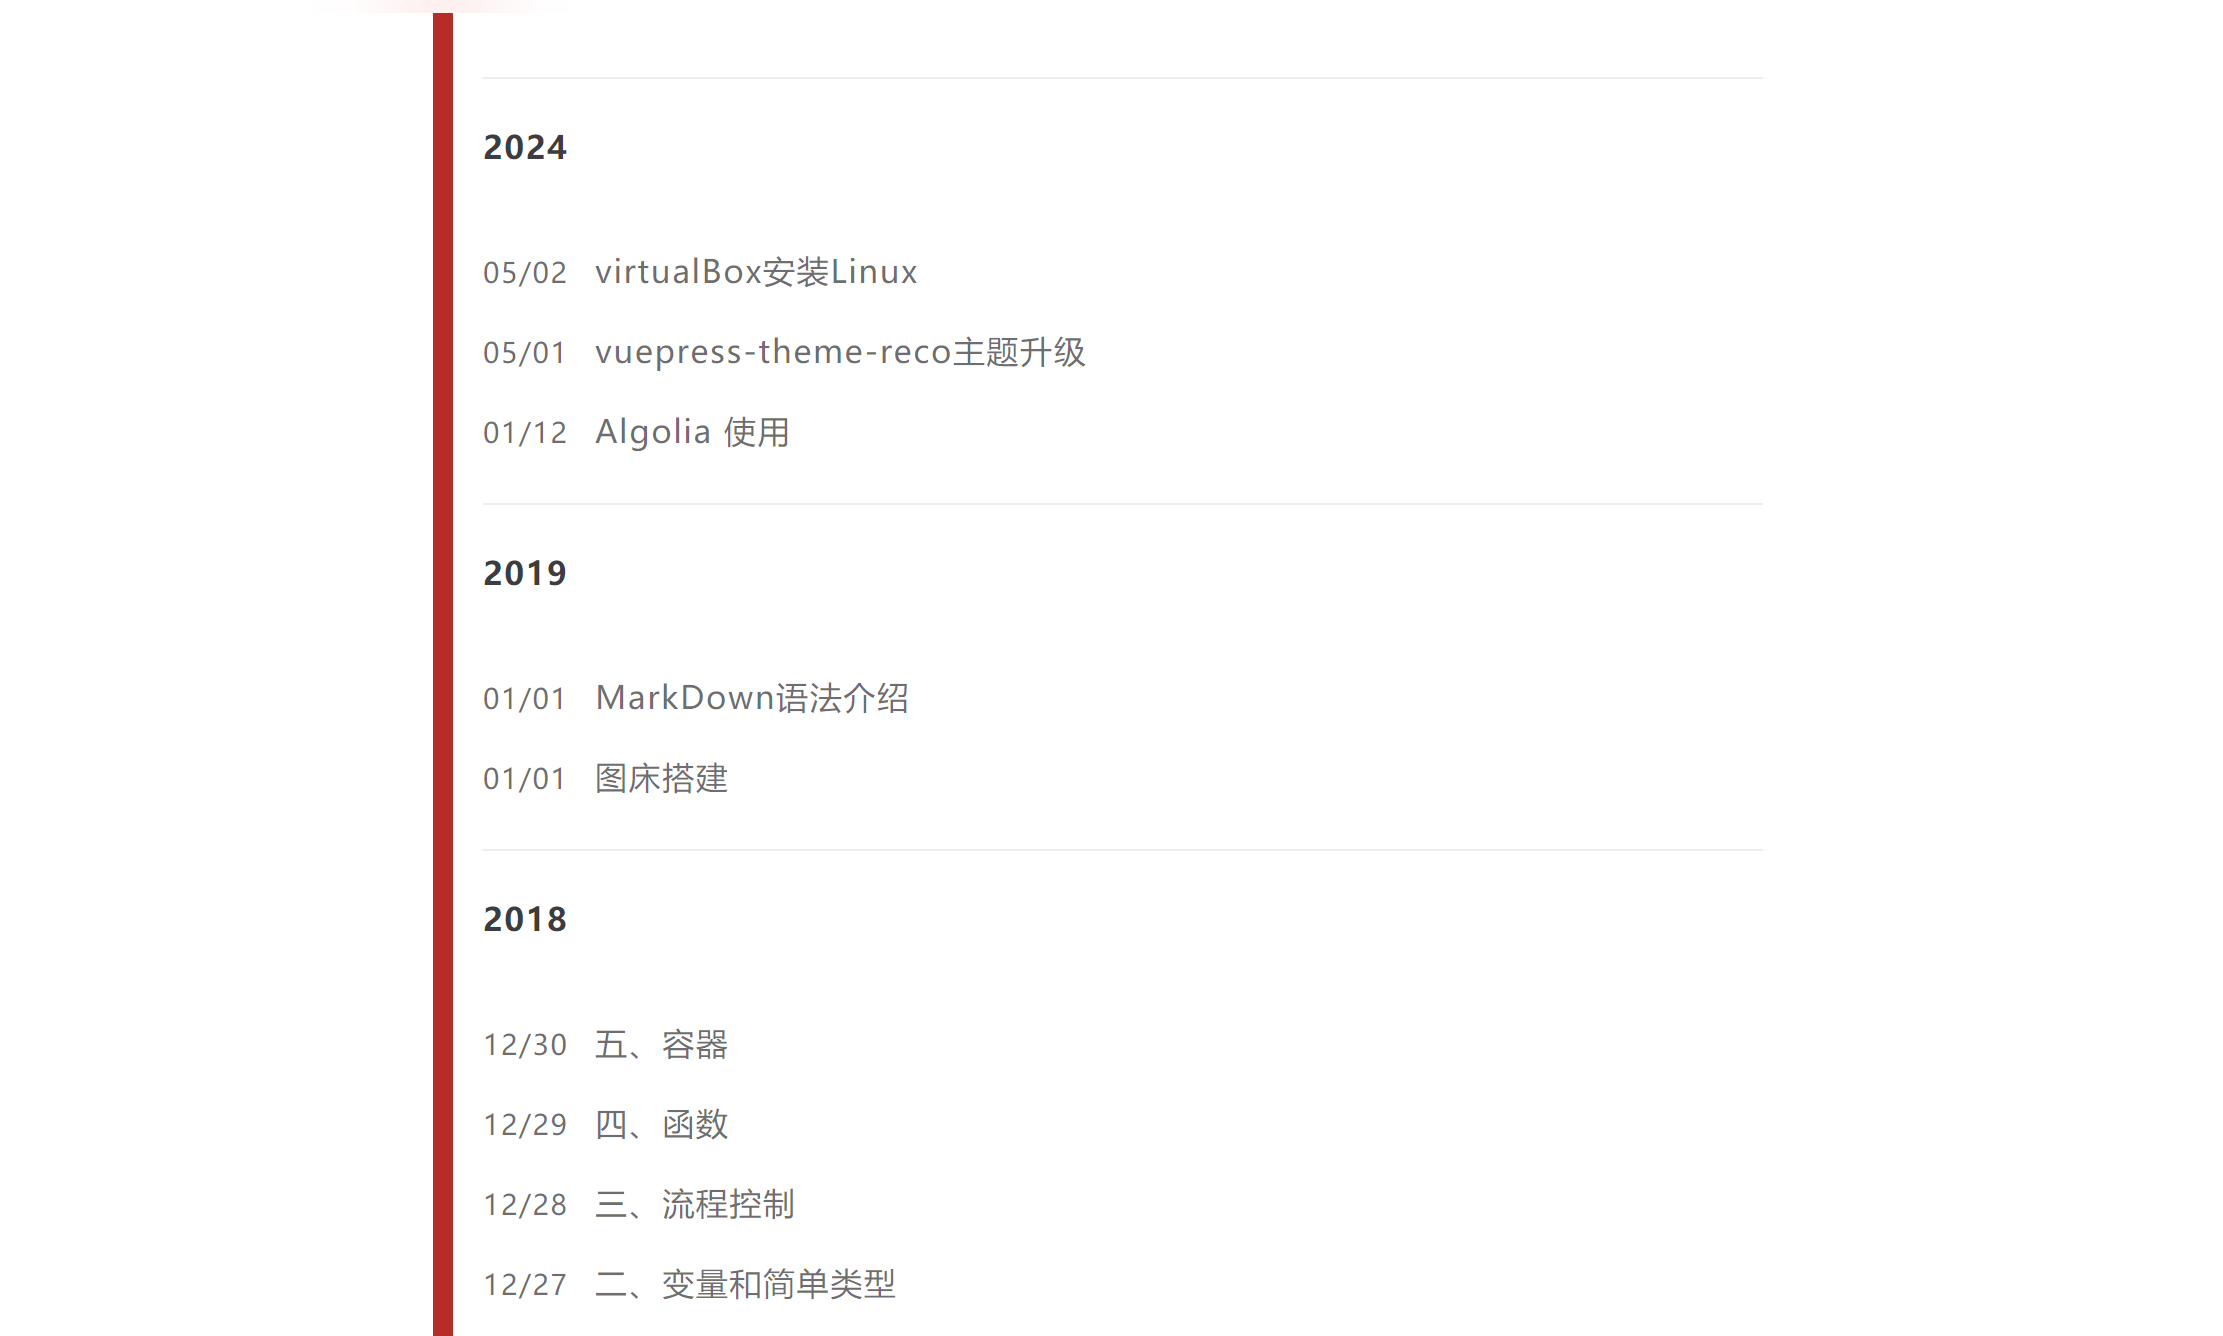
4.7 添加鼠标点击效果
在.vuepress/public/js 目录下创建一个MouseClickEffect.js 文件,内容如下:
var a_idx = 0;

function getRandom(max, min) {
    return Math.floor(Math.random() * (max - min + 1) + min);
}
jQuery(document).ready(function ($) {
    $("body").click(function (e) {
        var a = new Array("富强", "民主", "文明", "和谐", "自由", "平等", "公正", "法治", "爱国", "敬业", "诚信", "友善");
        var $i = $("<span/>").text(a[a_idx]);
        a_idx = (a_idx + 1) % a.length;
        var x = e.pageX,
            y = e.pageY;
        $i.css({
            "z-index": 99999,
            "top": y - 20,
            "left": x,
            "position": "absolute",
            "font-weight": "bold",
            "color": `rgb(${getRandom(255,0)},${getRandom(255,0)},${getRandom(255,0)})`,
            "user-select": 'none',
            "cursor": 'default'
        });
        $("body").append($i);
        $i.animate({
                "top": y - 180,
                "opacity": 0
            },
            1500,
            function () {
                $i.remove();
            });
    });
});
然后在config.ts 中的export default defineUserConfig({ 下添加以下代码:
head: [
        ['link', { rel: 'icon', href: '/favicon.ico' }],
        ['meta', { name: 'keywords', content: '个人博客网页' }],
        ['meta', { name: 'description', content: '个人博客网页' }],
        //['meta', { name: 'author', content: 'Mr.Lin' }],
        // 引入jquery
        ["script", {
          "language": "javascript",
          "type": "text/javascript",
          "src": "/js/jquery.min.js"
        }],
        // 引入鼠标点击脚本
        ["script", {
          "language": "javascript",
          "type": "text/javascript",
          "src": "/js/MouseClickEffect.js"
        }]
]
这样就成功添加了鼠标点击效果: 在博客中鼠标点击时显示 "富强", "民主", "文明", "和谐", "自由", "平等", "公正", "法治", "爱国", "敬业", "诚信", "友善" 的文字。
4.8 分离config.ts中的各配置
如果配置都写在config.ts 中,那么慢慢的这个文件会显得很臃肿,于是我们可以将其中的各种配置单独为一个文件,然后在config.ts 中将其引入即可。那么如何做呢?接着看下去。
以上面的head配置为例,介绍一下操作步骤:
将对应属性的具体内容单独写为一个文件,这里为
.vuepress/public/js/head.ts:export default { head: [ ['link', { rel: 'icon', href: '/favicon.ico' }], ['meta', { name: 'keywords', content: '个人博客网页' }], ['meta', { name: 'description', content: '个人博客网页' }], //['meta', { name: 'author', content: 'Mr.Lin' }], // 引入jquery ["script", { "language": "javascript", "type": "text/javascript", "src": "/js/jquery.min.js" }], // 引入鼠标点击脚本 ["script", { "language": "javascript", "type": "text/javascript", "src": "/js/MouseClickEffect.js" }] ] }在
config.ts中引入... import headData from './public/js/head'; export default defineUserConfig({ ... head: headData.head, })
4.9 配置algolia全文检索
默认的搜索只能根据标题进行检索,这在实际应用中显然很鸡肋,所以必须实现全文检索,我们使用algolia 来实现。在config.ts 中配置如下:
export default defineUserConfig({
  ...
  ...
  theme: recoTheme({
    ...
    ...
    algolia: {
      appId: '*******',
      apiKey: '0dc****************************f06f',
      indexName: 'ide******re',
      inputSelector: '.search-box',
      algoliaOptions: { 'facetFilters': ["lang:$LANG"] },
      debug: false // Set debug to true if you want to inspect the dropdown
    },
    ...
    ...
这样就实现了全文检索:
